1. Create a Button and Text Field by Clicking the Button and Text Field in the “Form Tab”.

3. After creating a Button and Text Field, Go to CSS Panel Group > Click CSS Style Tab > Click All Button (Show All Document Mode). See Image below:

4. On the Style Definition Area, Right Click and Select “New” to create a New CSS rule, a New CSS Rule Window will appear.

On the New CSS Rule window follow the image below:

Click OK and Save the New CSS File using any filename you want.
5. After Clicking Save Button, a CSS Rule Definition Window for the Selector Name you typed will appear. In this project, I put “.fieldbuttonstyle” as my Selector Name. It is very important to put a “dot(.)” before the selector name in customizing buttons, fields, and other FORM OBJECTS. Below is the CSS Rule Definition Window Image.

This is where you can put different styles on buttons and fields like font style, border, font size, background color, images, alignment, and so on.
Let say:
FONT STYLE: Arial, Helvetica, San-Serif
FONT SIZE: 12 pixels
BACKGROUND COLOR: #0066FF
BORDER: SOLID(Top, Right, Left, Buttom), WIDTH(Thin), COLOR(#CC6600)
After setting up the definition click “OK” button.
6. To apply the CSS Style, click the button or text field then on the bottom part, in the Property Panel, click the Class Drop Down Box and select the Selector Name you created. See Image Below:

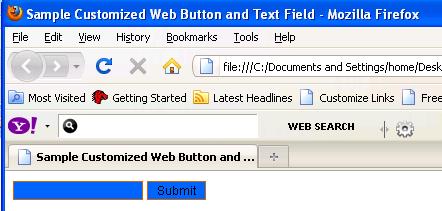
7. After applying the CSS Style, click Save and Run the Project by Clicking F12 and you will see something like this: